Showing posts with label party food ideas. Show all posts

Strawberry Spring Trifle with Nutworks Sprinkles


Strawberry Spring Trifle


Clear blue skies, cool ocean water and gardens coming alive everywhere. Spring in Qld is one of my favourite times of year.
It also happens to be when beautiful local strawberries are in abundance, one of my absolute favourite of fruits.

As an local and healthy food blogger and as an ambassador for the new Nutworks Gourmet Sprinkles range found in Woolworths I couldn't wait to create a recipe that tasted and looked like Spring.
This trifle is just bursting with strawberry flavour and creamy Maleny Dairies real cream. The Nutworks Sprinkles add such an amazing crunch and hit of flavour tie-ing it all together so well.

Ingredients

  • You will need a trifle jar.
  • 2 x container's of Maleny Dairies real cream. (Or equivalent if you cannot get this cream where
  • you are - its just my favourite! You can also use coconut cream for a paleo/vegan version)
  • 1 x 250 gm punnet strawberries, washed, stems removed, cut in halves and frozen.
  • 1 x 250 gm punnet strawberries, washed stems removed and kept fresh.
  • 1 x packet Nutworks Gourmet Sprinkles - Raspberry Crumble Boost.
  • 2 teaspoons organic vanilla paste/drops
  • 1 teaspoon coconut sugar (opitonal)
  • Shredded coconut
  • Edible flowers and extra strawberries (whole) to serve
Method
  • Blitz together half and half cream and frozen strawberries. I used one container Maleny Dairies Cream and the equivalent in Strawberries. It should be lovely and thick and tangy and a nice pink colour. Set aside in the fridge.
  • Whip the second container if cream with the vanilla and optional coconut sugar.
  • In your trifle bowl spread a layer of the whipped cream, top with sliced strawberries, then a layer of sprinkles, then a layer of the strawberry cream, then a layer of coconut then strawberries and then back to the cream and continue until the bowl is almost full.
  • On the very top spoon a layer of whipped cream and form a peak in the centre.
  • Cover with sliced strawberries and coconut and then generously cover in the sprinkles and top with 2 - 3 fresh whole strawberries.
  • Chill for at least 30 minutes and serve!


Recipe & Photography by Rebecca Mugridge

This is a sponsoerd blog post as an ambassador for Nutworks and their new gourmet Sprinkles Range.
Find out all about this exciting new range of healthy flavourings HERE

Dinosaur Biscuits. Gluten Free, Refined Sugar Free, Nut Free, Egg Free.


Dinosaur Biscuits
Gluten free, Refined Sugar Free, Egg Free


My little miss 4 is a funny little thing. While she belts out Frozen songs as much at the next girl and does ballet and loves barbie dolls she also absolutely LOVES dinosaurs, dragons, bugs, crocodiles, sharks and trucks and motorbikes.
Myself and my miss 9 often just look at each other mystified as we are both very much girly girls.
Violet's bedroom greets you with dinosaurs and dragons. her favourite colour is green and when she grows up, she wants to be a DRAGON.
Yep.

For her fourth birthday of course it was a Dinosaur Party - you can see the food and party ideas for that one HERE 

These biscuits both my 4 and 9 year olds can make and they both love! Though my 9 year old often makes hers with a love heart instead.


Ingredients

100 grams butter
½ cup coconut sugar or Natvia stevia
1 & ¼ cups gluten free plain flour or spelt flour plain – note spelt is not gluten free only low gluten)
1 teaspoon vanilla paste or essence
¼ teaspoon baking powder (gluten free)
3 tablespoons almond, coconut, soy or dairy milk
¼ cup jam with no sugar added. You will find many of these at supermarkets and health food stores or better yet, make your own yummy jam!
2 tablespoons water
1 potato (or very clean dinosaur)


Method

Pre heat oven to 180’c or 160 if it is fan forced.
Line a baking tray with baking paper, I use non bleached If You Care brand.
Heat jam in a saucepan with the water, stir and set aside.
Cut a large potato in half. Then take one half and score/cut a dinosaur shaped foot print into one side so that it sticks out.
Beat butter, sugar and vanilla until it looks fluffy and well together.
Gently fold in the flour and baking powder with a wooden spoon.
Once mixed well roll into small balls and place on the baking tray.
Flatten down slightly.
Use the potato (or dinosaur) to put a footprint indent into each biscuit.
Fill indents about ½ to ¾ with the jam.
Bake for around 12 minutes or until nice and golden looking and firm.
Remove from oven and cool on a wire rack.


Notes

You can of course swap the dinosaur foot print for a love heart, star, circle etc have fun with it! 


Roarrr its a Dinosaur Party, Swamp Dip Guacamole & a Dinosaur Cake

I love a good theme, its so much fun and I love any reason to celebrate, party, cook and....decorate!
Yep, I love Christmas, Easter, Halloween, Fancy Dress Parties

Its also always a great, fun opportunity too cook and create new things.

As a mother of two girls I never thought I'd be doing a dinosaur theme, and I have to say I am so glad my youngest is such an eclectic girl, the type who wants to wield a lightsaber while wearing a tutu! Its fun.

My little V loves dinosaurs, so it was only natural she would want a dinosaur party! So Kindy and ballet friends invited the dino planning fun began.

Meet Rex our party door greeter

Discovering the non fiction section on dinosaurs at the library has been a highlight of V's year!

Big sis and grandma taste testing the party food
Face painting by Fun Face Events


Dinosaur Jumping Castle by Jump Sunshine Coast
TAKE HOME BAG IDEA ***Dinosaur arts and crafts - great little addition for the take home bag that is not sugar and additive laden lollies is a paint your own dinosaur plaster of paris figure and cut out dino shapes, its personal, the kids love making them and who doesn't like glitter :)
 In our take home bags we also had garden whirls, printed colouring pages of dinosaur pictures and a box of crayons, a mini dinosaur toy, the usual blowers and balloons, some dinosaur shaped glitter sprinkles, box of organic sultanas, dinosaur crackers, dinosaur temporary tattoos and stamps. We really wanted to steer away from the usual lollies. 
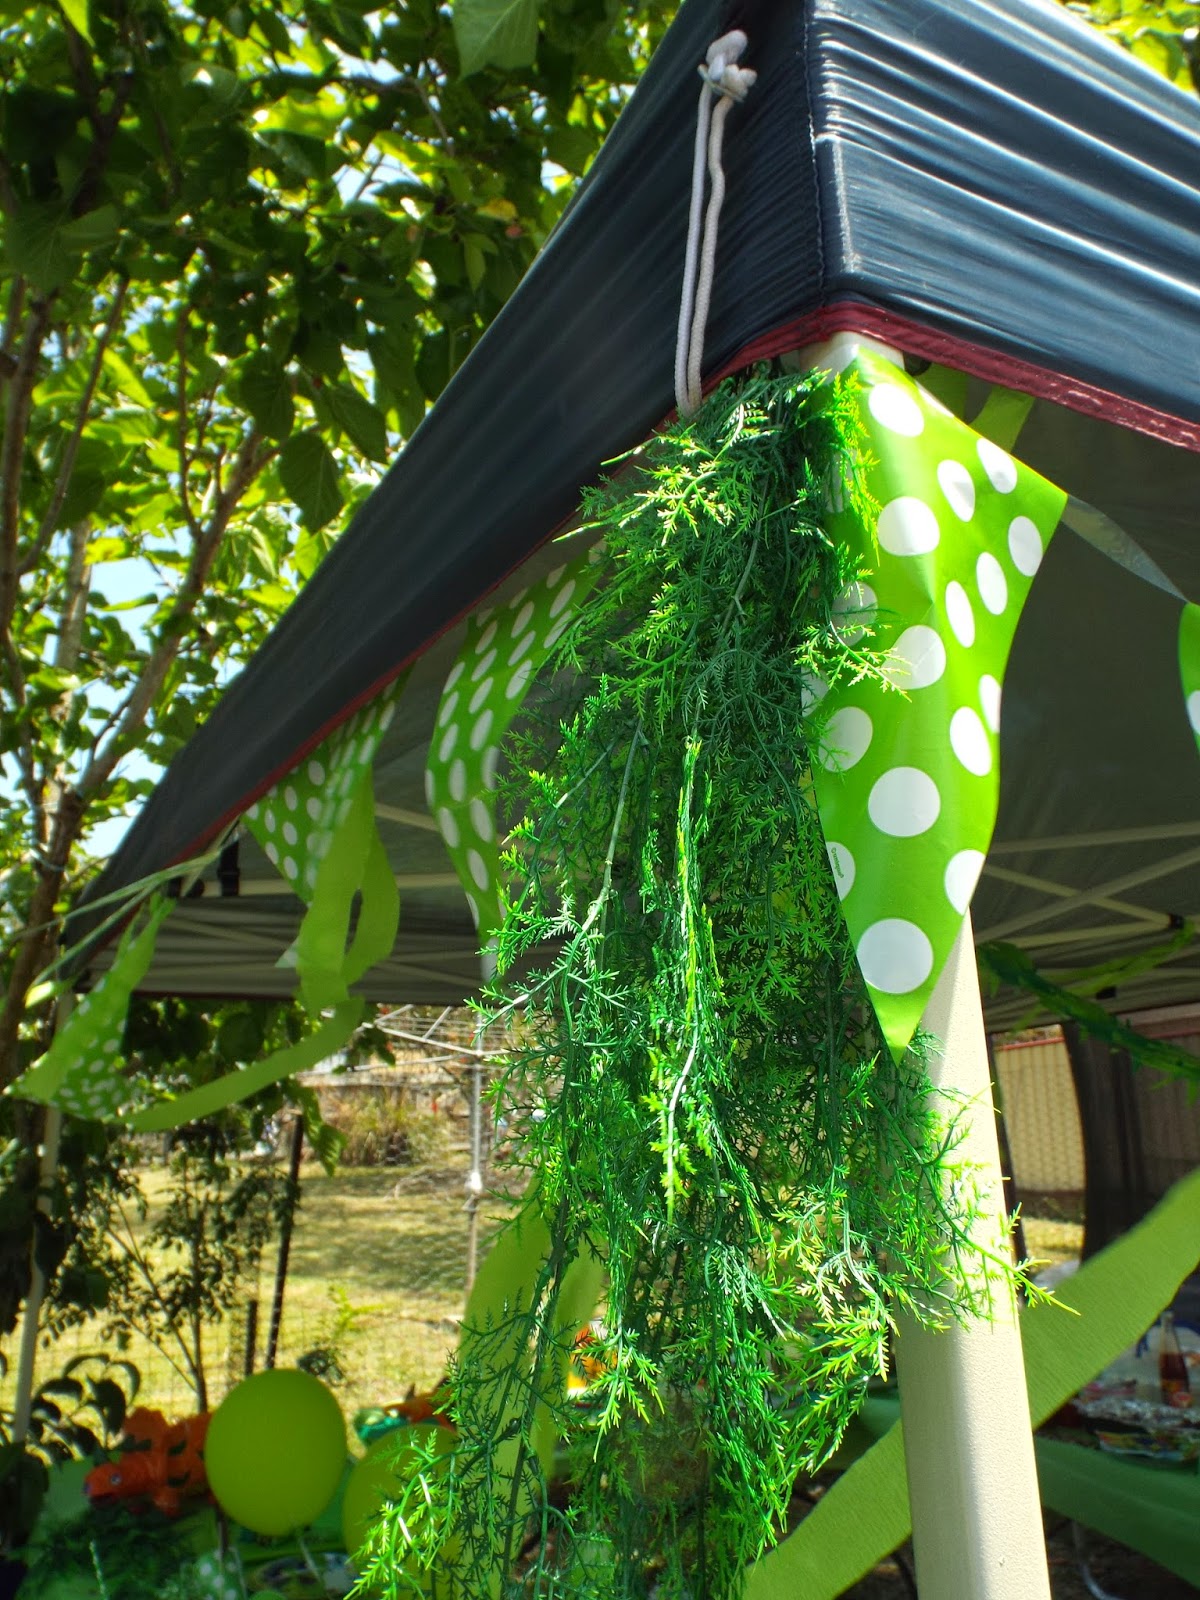
Not the best shot (boy does that time go fast when you are setting up!) But you get the idea, lots of green and jungle features.

Adding some simple cut outs to the party hats to make them dinosaur - miss 4 actually did these 

Dinosaur footprints lead the way
 And such a fun part - the party food! Now I do believe in living life pretty much 80/20, yes my kids eat very healthy a large percentage of the time but I will also let them have abought icecream on a hot day out, fish and chips at the beach and a normal cake for their birthday! But I do still try and have lots of party food that is home made, additive free, fresh, wholefoods and refined sugar free as much as possible. In fact I even had the face painter comment at V's dino party just how calm and happy all the kids were - and yes, the kids were all still munching away happily! It is just that, yes its a party so you have some treats but you can also have lots of fun and delicious food that is healthy too.

Dinosaur footprint biscuits! These are fun and simple! I'll blog this recipe soon - why not sign up over on the side so you don't miss it.
Dinosaur eggs - these are my bliss balls made small get the recipe HERE
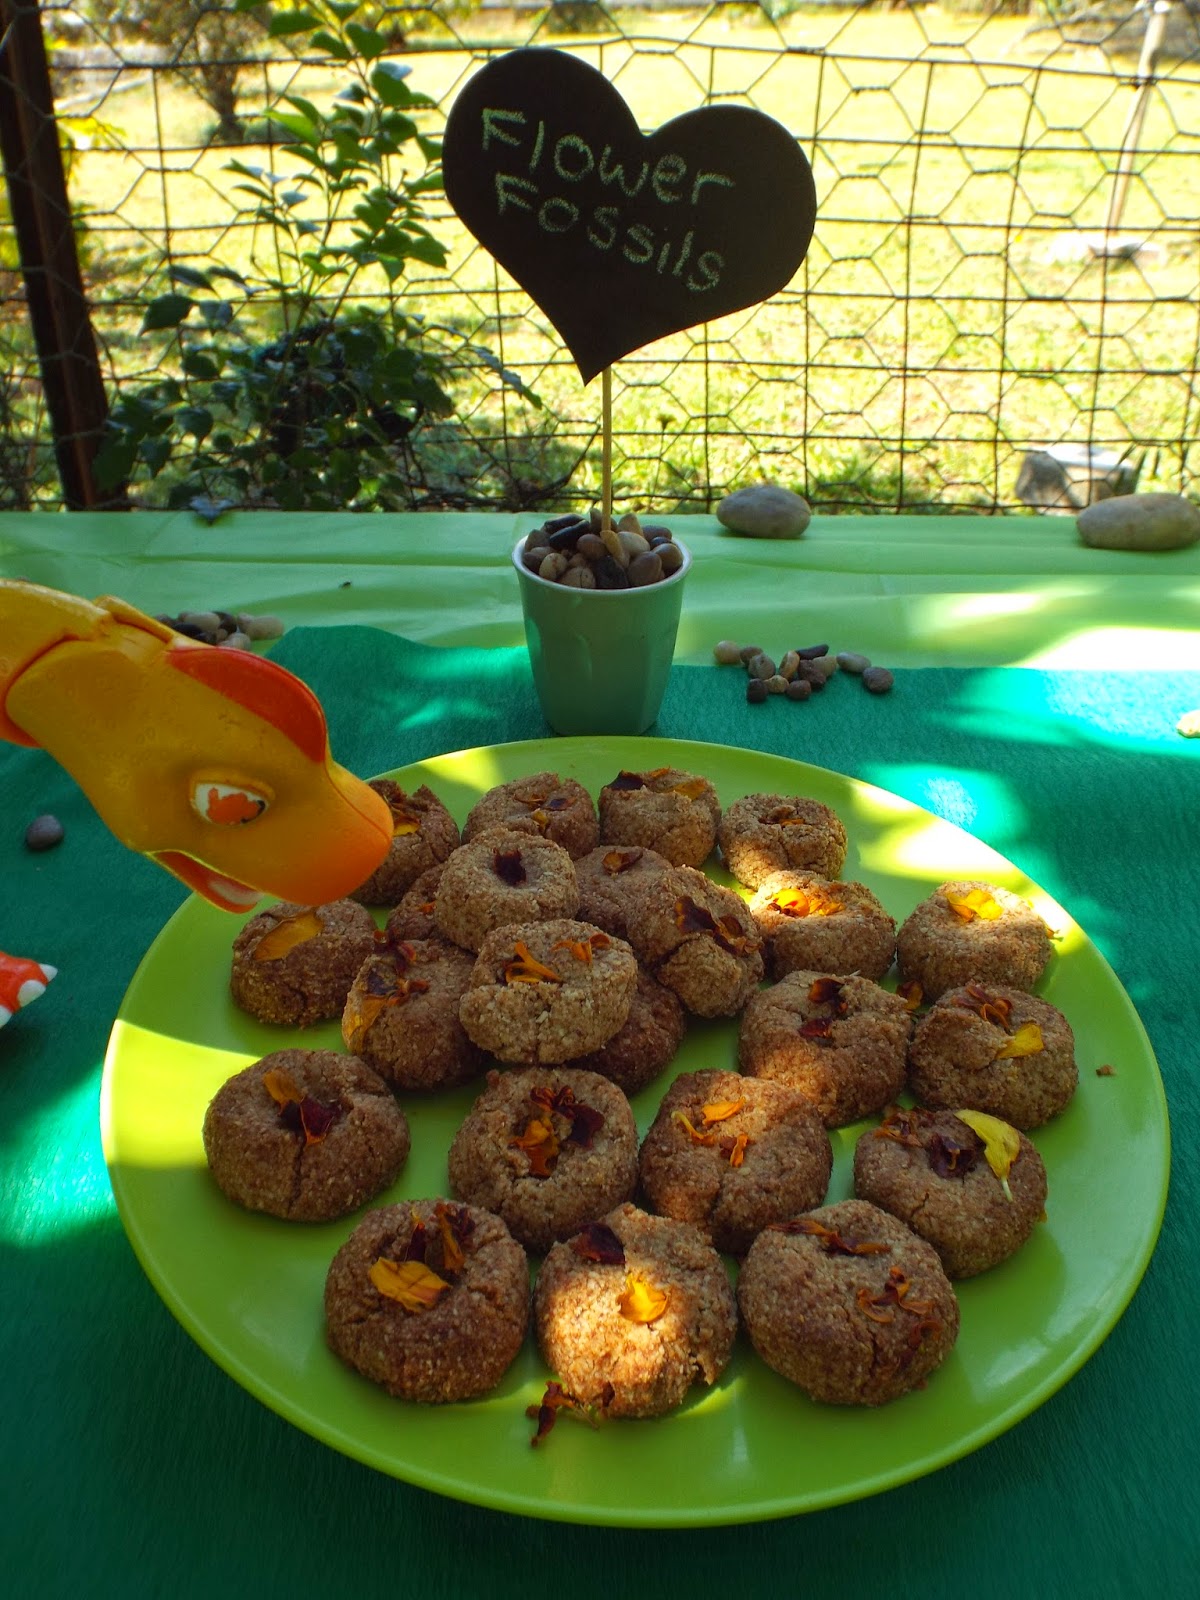
Flower Fossils - gluten free , get the recipe HERE
I found this idea on pinterest, I just made little mini spelt muffins, turned them upside down, cut them flat and then when cold topped with melted white chocolate that I mixed a few drops of food colour & beetroot juice into.
Viola iceburgs - these made the kids drinks of cold water funky, always a great idea to provide lots of iced cold water at parties, if you want you could add some cordial, there are also stevia varieties out there. 
We also served a sausage sizzle right before the cake, we had gluten free meat sausages and vegetarian sausages (cooked separately) and gluten free and fresh baked bread. We served with the Natvia refined sugar free tomato and BBQ sauces (find in Coles). Always a reliable hit for kids (and parents) and everyone loves the smell of a cooking bbq and onions :)

Swamp Dip - Guacamole
Yes, I didn't get a shot before the kids had tried some haha!
Swamp Dip Guacamole
4 large ripe avocado's
1 cup sour cream
2 tablespoons sweet chili sauce (I used homemade refined sugar free, made with stevia but bought is fine)
1 cabbage
Cut up carrot, celery (leave some with the leaves on to look jungley), red capsicum slivers and we also had gluten free corn chips 
Blend together avocado, sour cream and sweet chili - taste test, tweak if needed.
Kids love this dip and it is not hot so don't be frighten of the chili sauce in it!
Cut your cabbage in half, trying to leave any funky outside leaves in place for the dinosaur/jungle look. Using a knife score the pieces of cabbage and then remove with a spoon (give your self a few minutes to do this part)
Fill with the smooth guacamole.
Serve.  
The Dinosaur Cake
Ok, yes it does look a little like a chameleon haha but the kids didn't notice - I blame the eyes!
To make a Dinosaur cake I made 2 of my chocolate yoghurt cakes with organic sugar (but you could use whatever kind you liked really). One round, one rectangle. I got the idea from a food ideas magazine and then tweaked and played around with the design. I drew the shapes I wanted on baking paper to use as a trace to cut out the pieces, waited until the cake was stone cold and then used green butter cream icing to decorate and cut down ice cream cones for spikes and horns, you could actually put spikes right along the back of the dinosaur as well.
The frill was cut as one piece and slipped over the head.
I recommend making the cake the day before if that works for you timing wise. I didn't decorate mine with lollies like the food ideas magazine but you could if you wanted too, I was just trying to keep additives to a minimum, but that are brands out there that are additive free and you could of course make this with a gluten free cake mix as well - if you were looking for an easy, instant one I recommend Tania Hubbard's from Gluten Free Grain Free.
 
Bek Xxx


Triple Chocolate Icecreams. Refined Sugar Free

There is some things that just never get old, like creamy, chocolate ice creams.
Just before our school holidays started and the gorgeous Sunshine Coast Spring weather hit, I started to play around with some different healthy ice-cream ideas for my kids.
They have already had so many times my Mango, Macadamia Honey Ice-Creams, Dairy Free Blissed Out Banana Splits, my smoothie icy poles and my many versions of banana ice creams.
So I wanted to do something different, new and exciting for them these holidays.
My oldest does not take to sugar well at all, in fact when she has some it takes her at least half a day to recover and she literally becomes like Hammy from over the hedge!
So sugar, is not her friend. And for me, on a healing journey of my own, its not my friend either so bringing together elements of things I already make and cook I put together these triple chocolate ice creams - and made many of them complete with a hard choc top too, and they are soooooo good!
And being on my own healing journey - a major part is living refined sugar free, as cane sugar is very inflammatory for everybody - mummy might have been seen on occasion not just having one with the kids in a family fun moment of an afternoon but also sneaking one of these out of the freezer to enjoy in a quiet moment in the garden too shhhh hehe ;)
They are really lovely - give them a go. Trust me Xxxx
Triple Chocolate Ice Creams
(refined sugar free)

Ingredients
Note: These ice creams have three components - I promise, all are easy and pretty quick to do. I got all three ready at the same time with a bowl and whisk, blender and a saucepan. X
Chocolate ice cream
3 cups of a good cream (here on the sunshine coast I use Maleny Dairies)
1 teaspoon organic vanilla paste
2 teaspoons cocoa (I used dutch processed but you could use normal, cacao or even carob)
2 tablespoons stevia (or coconut sugar or raw honey if your prefer)
Choc fudge flavour layer
2 bananas
2 tablespoons water
2 tablespoons nut butter (I use nut butters from my local health food shop, supermarket ones will contain sugar)
1 tablespoon stevia (or honey)
1 tablespoon cocoa (see earlier note)
Hard choc
1/4 cup coconut oil
1/4 cup cocoa
Tiny pink Himalayan salt
1/4 cup rice malt syrup
ice cream moulds
paddle pop sticks (food grade)
ALSO - see notes!
 
Method
  • Have some clean ice-cream moulds or plastic cups ready to go and clear a good space in the freezer.
  • In a large bowl whip the cream with the stevia, cocoa and vanilla until nice and fluffy and whipped, set aside.
  • In a blender place all the choc fudge layer ingredients and process until nice and smooth, depending on size and ripeness of bananas you may want to use a little more or less water to get a nice consistency.
  • To make the hard choc you need melted coconut oil, so either your lucky and its warm enough that it is already runny or you will need to gently melt some like you would chocolate.
  • I like my coconut oil to be melty but slightly still a little whipped looking, so from runny coconut oil I place it in the fridge for a little while until it is still runny but very lightly crystallised around the edges, it just seems to blend better for chocolate like that and you need the coconut oil cool to touch for the ice cream creating step as well.
  • Mix your (cool) coconut oil with the rice malt syrup and cocoa and salt very well. It needs to be well blended.
  • In your moulds arrange the 3 components in layers as desired. My kids loved the ones I made that had a hard choc bottom, for these I just started with a small amount of the hard choc, then choc ice cream, then choc fudge then hard choc for a surprise centre then topped with choc cream. But you could do as many layers in any pattern you like, have fun with it!.
  • Cover the exposed tops with aluminium foil or cling wrap or similar.
  • Freeze until completely set.
  • To serve run the bases under warm water or sit briefly in a bowl of war, water until they are easy to remove.
  • Enjoy!
Notes
  • With some I also used a butter knife to mix the layers just slightly, running the knife back and forth through the mixture just a little.
  • TIP to make the ice creams look really pretty, make sure after each layer you wipe down the sides so once frozen you get a very defined layered look.
  • If you wish you can also alternatively simply use a good quality melted bought dark chocolate for the hard chocolate parts of these ice-creams.

Tiddler Tips
  • I would probably use less cocoa and a mild, organic one and not something as strong as cacao or dutch processed cocoa personally. You could also try carob versions.
Eat beautiful. Live Well. Be Happy. Stay Calm.
Bek XXX

PS if you make these - I would love to know! So please share your picture with me on facebook, twitter, Instagram or simply hashtag on social media #cookingwithbek or #beautifulfoodwithbek
Recipe and food photography copyright RebeccaMugridge2014

Freshen up this Spring with Kiwi Fruit! Plus Kiwi & Pineapple Pina Coladas


Kiwi fruit are so gorgeous, and yet can be sometimes an overlooked fruit.
They are so versatile, affordable and easy for kids to eat, my youngest has eaten so many lately, they would have to be up there as one of her all time favourite fruits! Recently I was contacted to try out the New Zealand Zespri GOLD kiwifruit (insert happy 3 year old) - and they are stunning!
 
Of course coming from pristine New Zealand I was expecting a fresh, crisp flavour anyway and I wasn't disappointed, they are beautiful and such high quality and keep well in the fruit bowl as well, which is so great for planning out those fruit breaks at school. The kids love the pretty gold colour and they are perfect for kids fruit breaks for school, kindy or after sports.
They also go beautifully in a fruit salad or platter for the whole family - or maybe just for mum! ;)
 
According to Zespri, these gold kiwifruit are fantastic for digestive health and I don't know about you but anything that makes my digestion, gut and bowels happy makes me happy!
(Especially after 2 babies if you know what I mean ; )
These gold kiwifruit are SO good for you!
Quoted from Zespri Website:
"Fibre in kiwifruit is made up of pectins, hemicelluloses and celluloses, which give it certain properties, such as the ability to retain water and form gels. It can have a significant effect on digestion:
  • Reducing the glucose absorption rate, so that the GI is lowered and blood sugar levels remain stable
  • Increasing the sense of fullness, since the fibre acts to increase viscosity and slow gastric emptying
  • Increasing the frequency of bowel movements
  • Reducing the sensation of bloatedness
  • Reducing the time of intestinal transit
Actinidin is a protease found in kiwifruit, which breaks down proteins and facilitates gastric digestion. This natural enzyme has the ability to break-down a wide range of food proteins more completely and faster than the digestive enzymes can do on their own. Actinidin was most effective on proteins found in beef and chicken, fish, pulses and cereals (gluten and soya protein isolate), and dairy products such as milk, cottage cheese and yogurt.
The digestive benefits of actinidin:
  • Improves the digestion of proteins by reducing the sensation of heaviness associated with protein-rich foods
  • Improves the absorption of proteins
  • Improves digestive comfort"
Raw kiwifruit is also a great source of folic acid, potassium, vitamin c, e and antioxidents.
For more information on the health benefits of the kiwi head to the Zespri Website.

With their lovely zing, we are enjoying ours mainly fresh, as is, cut in half with a spoon, sliced into fruit salads and platters, baked into a delicious kiwi banana bread (get this recipe next week on the blog too) and my FAVOURITE way

Fresh and Fabulous Mocktail
Kiwi and Pineapple Pina Colada
Ingredients
1/2 a large or 1 small fresh pineapple
1/2 cup organic coconut cream
1 can coconut water (I use Jt's Coconut Essence as it is my favourite)
Method
Chop the fresh pineapple into chunks.
Take the skin off the kiwifruit and chop into pieces.
Add all ingredients into a blender and blitz until you have a lovely, runny texture.
Serve over crushed ice.
Enjoy!
 
Notes
My kids absolutely love this and it is a perfect pick me up if you are running from school pick up to an after school activity like sports or dance! ( Can you tell I am a dance mum??) I make some ahead and store in glass bottles with lids in the fridge so I can have them ready to be enjoyed when I pick them up and we are zipping around.
Turn them into icypoles! Simply pour into icy pole moulds and freeze - note do it right away before any separating might occur.
I am in kiwifruit heaven right now and am just SO delighted to have a GIVEAWAY for you!!
Zespri Gold kiwifruit have for 1 lucky reader the chance to win a $30 Woolworths gift card so you can go out and buy some of these gorgeous gold kiwifruit and try the pina coladas yourself and also a beautiful kiwifruit bowl!
How fun is that!
Enter below!

a Rafflecopter giveaway


NOTE:
This is in no way endorsed by or run in conjunction with facebook.
This is an independent giveaway.
Winner will be notified by email and has 2 weeks to claim prize or there may be a redraw.
Competition open to Australian residents only.
Winner must have left a blog post comment to be eligible.
This giveaway is brought to you by Zespri Kiwifruit.
All information in this post is intended for interest only, please always seek advice from a health care professional in regards to your health and diet.

Rainbow Coleslaw with Yoghurt Dressing


Just because the weather cools doesn't mean you can't still enjoy delicious salads

Rainbow Coleslaw with Yoghurt Dressing
As seen in HOLISTIC BLISS magazine

Bring some dazzling colour to your winter meals with this delicious, healthy salad the whole family will love.
Ingredients

Rainbow Coleslaw
¼ red cabbage, shredded
2 carrots, grated
1 red capsicum, thinly sliced
1 yellow capsicum, thinly sliced
¼ cup fresh snow peas, tipped and thinly sliced
1 red onion thinly sliced
1 red beetroot grated
¼ cup green beans, thinly sliced
¼ cup kale, finely chopped
1 pink lady apple, core removed and grated
½ cup walnuts, lightly toasted.

Yoghurt Dressing
½ cup natural yoghurt ( I use Maleny Dairies natural yoghurt)
½ lemon, juiced
2 teaspoons mustard
1 teaspoon honey

Method
Combine dressing ingredients in a bowl, taste, adjust to personal preference if needed and set aside. You can also add some cracked black pepper here.
Mix together all coleslaw ingredients except the beetroot and walnuts with the dressing.
Just before serving gently fold through the beetroot, place rainbow slaw into a serving dish and then top with the walnuts.
Serve.

Notes
A beautiful, healthy coleslaw just bursting with colour, freshness and flavour.
Perfect for entertaining, picnics and parties.
This dish is really popular with kids because it is so bright and colourful. Great for lunchboxes, though you might want to leave out the onion from their portion.
I recommend sending it dry with the sauce in a glass bottle or container and letting them add it and mix it through to keep the salad nice and fresh and crisp and not soggy.
Try serving with freshly chopped avocado and macadamias.


Recipe and photography (c) Author Rebecca Mugridge

Quinoa Pot Pies

Quinoa Pot Pies

Pies are such a popular food, especially here in Australia! It seems to almost be  a traditional dish! Well here is one of my spins on the good ol trusty pie. These are a delicious homemade vegetarian pie with Quinoa based pastry. Perfect with salad for dinner, for lunchboxes and picnics. Serve with tasty sauce like a great chilli jam, (on the Sunshine Coast I love the stunning Noosa Chili Jam! ).


Ingredients
1 cup vege mince (I use planet organic here, it is a great local company but sanitarium , quorn or any tvp would work -or even a meat version if that's your thing!)
2 cups vegetable stock
1 onion
2 carrots, peeled chopped into small pieces
2 zucchini’s, chopped into small pieces
½ cup fresh green beans, chopped
1 red capsicum, chopped
½ cup broccoli, finely chopped
¼ cup potato, cut into small cubes
2 cups mashed potato
4 teaspoons Gourmet Garden garlic paste or 3 cloves Australian garlic, finely chopped
¼ cup gravy powder
1 tablespoon tomato paste
2 teaspoons dried thyme
1 teaspoon turmeric
karom himalayan salt to taste
cracked black pepper to taste
1 tablespoon olive oil
1 cup water
Pastry
¼ cup olive oil or Maleny Avocado oil
¼ cup butter 0r 1/2 cup butter if omitting the oil
1 cup Quinoa flour
1 cup organic plain or plain spelt flour
¼ cup sour cream
baking paper
aluminium pie baking cases or baking tray


Method
Pre heat oven to 180ç.
Combine pastry ingredients in a large bowl.
Knead together to make a smooth dough.
In a saucepan bring the stock to the boil. Add in the Vege Mince.
Simmer together for 6 minutes, remove from heat.
In a small saucepan par boil the carrot and potato until it can be just pierced with a fork, do not overcook.
In a frying pan heat the olive oil, add in the onion and garlic. Sauté until slightly transparent.
Adding in the thyme and turmeric, stirring though.
Then add in the carrot, zucchini, green beans and broccoli , stir for 3 minutes.
Mix in the vege mince and sprinkle in the gravy powder, stirring in well.
Pour small amounts of water in, stirring until the whole cup has been added on a low heat. Add more if needed.
Season to taste with salt and pepper.
Gently roll out the pastry between two sheets of baking paper, until it is nice and thin.
Cut out circles slightly bigger than the pie cases.
Line each pie case carefully with a pastry circle base.
Fill with vege mince mixture, top with mashed potato and finish with a second pastry circle.
Firm down edges of pastry on top to seal each pie. Brush with milk.
Bake for approximately 20 minutes or until pastry is nice and golden.
Serve with a tasty sauce and fresh salad.

Notes
Make a rich mushroom version by swapping the veggies with lots of fresh mushrooms and torn baby spinach leaves.
Using Quinoa flour makes this a more fragile pastry so be careful when cutting out the circles.
Quinoa is a super food with many health benefits making this is a fantastic ingredient to use, if you find the flavour too strong use a little less quinoa and a little more plain flour.

Toddler Tips
Make them toddler sized using miniature pie cases.


This recipe I created as a commercial project for supermarket, the Maleny IGA and the Local Product Local Recipe - recipe cards I did for them featuring products from the Sunshine Coast region.
I am available for recipe creation work and can create print ready beautiful unique recipes whatever your needs for your commercial, business and personal purposes, contact me for more information.

Cheesey Potato & Carrot Hash Browns


Cheesey Potato & Carrot Hash Browns
Tasty for dinner, lunch and school lunch boxes or makes a great hors d'oeuvre. Delicious hot or cold. Flavoured with local Gourmet Garden Herbs and delicious local Kenilworth Cheddar Cheese and introducing the new Kenilworth Organic Cold Pressed Olive Oil. 

Ingredients

·         1 large sweet potato.
·         1 washed potato, washed.
·         1 large carrot, washed and peeled.
·         2 stalks spring onion.
·         1 teaspoon Gourmet Garden Chives.
·         2 teaspoons Gourmet Garden Garlic.
·         1 cup Kenilworth Cheddar Cheese, grated.
·         3 Sanitarium rashers.
·         1 teaspoon Tumeric.
·         Karom Himalayan pink mineral salt to taste.
·         Pepper to taste.
·         Organic tomato sauce to serve.
·         1 & 1/2 tablespoons  organic cold pressed olive oil ( I use Kenilworth).

Method
·         Heat ½ tablespoon of the oil in a frying pan.
·         Slice thinly and fry the rashers until nicely cooked, set aside.
·         In a bowl grate the potato, sweet potato and carrot, mix together
·         Add in the chives, garlic, turmeric, salt and pepper to taste, cheese and rashers, combine well.
·         Heat 1 tablespoon or so of oil in a frying pan.
·         Take tablespoon size amounts of the mix in your hands and press the mixture together to make a patty shape, squeeze out excess moisture.
·         Fry just a couple at a time on a medium heat, allowing to go golden brown on each side, press down gently as you do.
·         Drain on paper towelling.
·         Turn onto a wire cooling rack.
·         Serve with a bowl of organic tomato sauce.
Notes
·         Great for kids lunch boxes, include a small container of the tomato sauce.
·         Use ham instead of the sanitarium rashers.
·         Swap the dipping tomato sauce for a bowl of sour cream mixed with gourmet garden chives and some fresh chives on top.
·         Great for picnics.
Toddler Tips
·         Make theirs toddler hand sized for ease of use. Serve with a fresh crunchy salad including things fresh beans, cucumber, cherry tomatoes and red capsicum.

This recipe I created for client Maleny Supa IGA and their Local Product Local Recipe - recipe cards. 
Recipe & Food Image Photography ©RebeccaMugridge 2013

RECIPE - Gorgeous Pink Sparkle Drink (No Added Sugar & Healthy)

My Beautiful Pink Sprakle Drink!


Delightly simple ~ deliciously refreshing
Makes a large party sized batch - can be halved for smaller quantities

Ingredients

1/4 raw large beetroot, juiced
5 pink lady apples, juiced
1 cup frozen raspberries

1 punnet fresh strawberries, hulled and juiced
1/2 lemon, juiced, without rind
1 fresh pineapple, juiced
1-2 litres soda water (depending on how strong you want it to taste)

Ice to serve
optional - sweeten with stevia or norbu


*Blend raspberries with about 1 cup of the water.
*Combine all ingredients well in a glass jug
*If desired sweeten to taste with some powdered stevia (optional)
*Chill
*Serve with ice
 

NOTES:
Swap water for soda water for a fizzy version.
Can also be dilluted down with more quantity of water for a very light and refreshing drink
Great healthy mixer for cocktails

Enjoy!
Rebecca xx
Related Posts Plugin for WordPress, Blogger...